Becoming a Fire Master: A Comprehensive Guide to Starting a Campfire
Master the art of building a campfire with our comprehensive guide. Explore materials, fire lays, ignition techniques, starter options, and safety tips.

Hello adventurers!
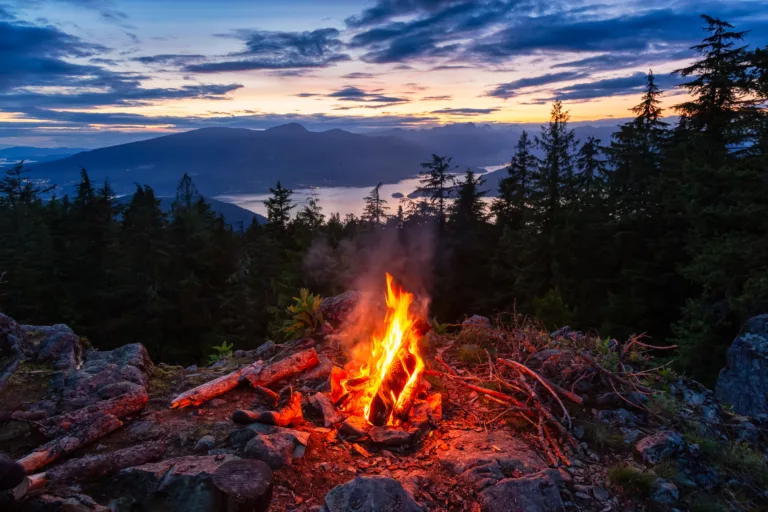
Embracing the wilderness is a thrilling blend of exhilarating discovery and essential survival skills. Among the core competencies every outdoor aficionado should master is the art of building a campfire. A campfire is a symbol of warmth and security, a source for cooking, and an invitation for storytelling under the expansive, starlit sky. It’s a nod to our primal roots and a ritual that turns an ordinary camping trip into a memorable outdoor adventure.
In this comprehensive guide, we delve into the intricate world of building a campfire. From gathering the right materials, structuring your fire for longevity and warmth, to mastering different fire starting techniques, we walk you through each step. As we unpack the secrets to a perfect campfire, we hope to equip you with the knowledge you need to turn spark into flame and fuel your own wilderness stories. Ready to ignite your journey? Let’s get started.
Successfully building a campfire begins with understanding and procuring the right materials. Three essential components form the bedrock of any fire: tinder, kindling, and fuelwood. Each has a unique role in the fire-building process, and understanding their specific functions can significantly enhance your fire creation and maintenance capabilities.
Tinder: Igniting the Initial Spark
Tinder serves as the fire-starter, the initial material that catches a spark and ignites into a flame. The key to ideal tinder is that it should be as dry, lightweight, and easily combustible as possible. Tinder needs to catch fire quickly, so materials with a high surface area relative to volume, which can heat up rapidly, are best.
There are various natural and synthetic options available. Natural options include dry leaves, grass, moss, and wood shavings, which are typically readily available in most wilderness settings. For those who prefer to come prepared, synthetic choices like cotton balls, dryer lint, or even commercial fire-starter products can serve as excellent tinder.
When choosing your tinder, ensure it’s protected from moisture and wind. Keeping it dry and secure until you’re ready to start your fire is paramount to the success of your flame.
Kindling: Bridging the Gap
Kindling serves as the intermediary between tinder and fuelwood, facilitating the growth of the small flame from the tinder into a larger, more stable fire. These materials need to be slightly larger and denser than tinder but should still catch fire relatively quickly.
Kindling typically consists of small sticks and twigs, no thicker than a pencil. Dryness is as crucial for kindling as it is for tinder, as dampness can impede the burning process. Depending on the surrounding vegetation, suitable kindling can often be found hanging from tree branches, which tends to be drier than wood found on the ground.
Firewood (Fuelwood): Sustaining the Flame
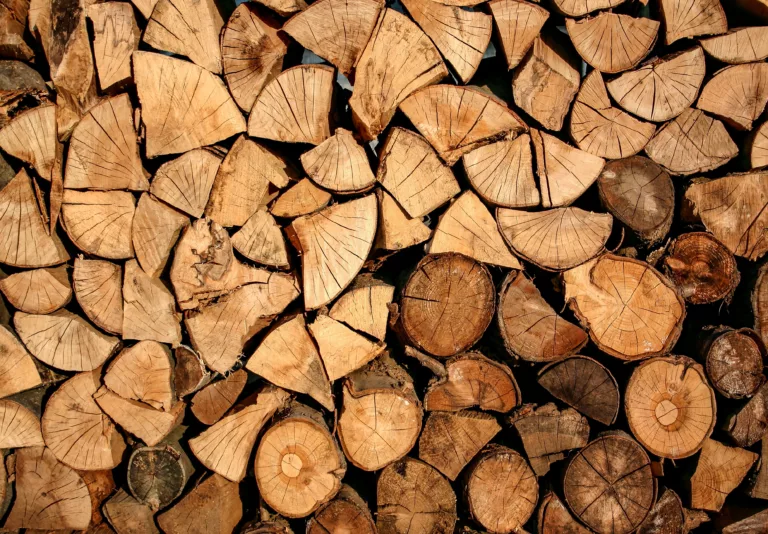
Fuelwood is the primary source of fuel for your fire, providing the heat and light necessary for your campsite. These are larger logs or pieces of wood that sustain your campfire over a longer duration once the kindling has successfully been ignited.
Fuelwood selection involves a careful balance. Softwoods, like pine or fir, tend to light up quickly and burn faster, making them excellent for getting a fire started. However, their rapid burn rate means they consume quickly, requiring frequent replenishment.
Hardwoods, such as oak, maple, or hickory, are denser and provide a slower, hotter burn. They are an ideal choice for maintaining the fire once it’s established. Their long burn time ensures a stable heat source for cooking or keeping warm. It’s good practice to have a mixture of both types on hand to manage your fire effectively.
Choosing an effective layout, or ‘fire lay’, is critical in managing how your fire burns when building a campfire. Different fire lays are optimal when building a campfire for cooking, warmth, or signal fires. Moreover, your choice of fire lay can impact the fire’s longevity, heat output, and even its wind resistance. While the teepee, lean-to, and log cabin are among the most common fire lays, there are additional methods that can be useful in certain scenarios.
Teepee Fire Lay
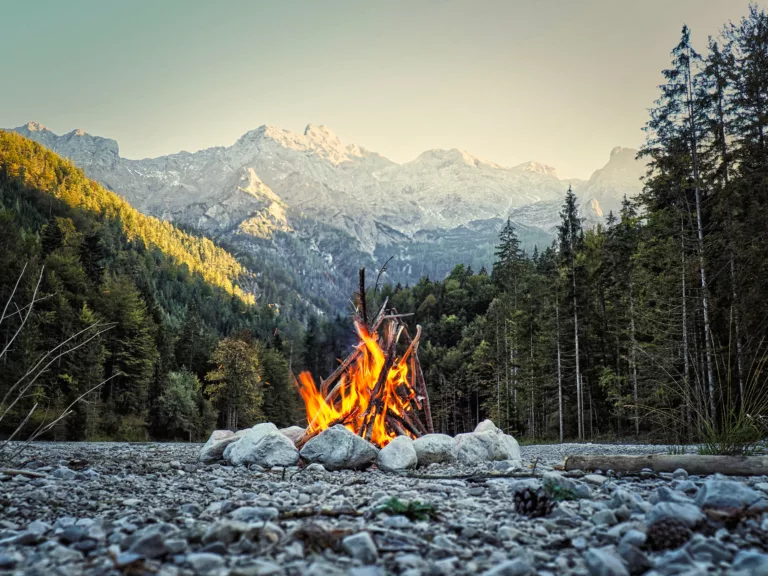
The teepee fire lay is a staple in the realm of building a campfire. To construct this, you start by placing a small bundle of tinder in the center of your fire area. Arrange your kindling around this, mimicking the structure of a teepee. As the kindling catches fire, add progressively larger pieces of fuelwood in the same teepee shape.
This type of layout is ideal for quick heat production and is excellent for cooking purposes due to its high flames. However, the teepee fire lay tends to burn fuel quickly, requiring frequent attention and replenishment.
Lean-To Fire Lay
The lean-to fire lay is a solid option when dealing with windy conditions. Begin by sticking a long piece of kindling into the ground at an angle, with the high end facing into the wind. Place your tinder bundle underneath this stick. Lean smaller pieces of kindling against the long stick, adding larger pieces as the fire grows.
This fire lay provides good wind resistance, and its structure helps to protect the tinder and flame. It’s a reliable method for creating a sustained heat source.
Log Cabin Fire Lay
For a long-lasting, steady fire, the log cabin fire lay is an excellent choice. To build this structure, place two pieces of fuelwood parallel to each other, leaving enough space in between for your tinder bundle. Add two more pieces of wood in a perpendicular direction on top of the first pair, forming a square. Continue this pattern, creating a layered, cabin-like structure around your tinder.
Once the fire is lit, the log cabin structure allows for excellent ventilation, which results in a long-lasting, steady fire that’s perfect for warmth, light, and cooking over an extended period.
Cross Fire Lay
The cross fire lay, also known as the criss-cross fire lay, is a great option when you need a fire to last for an extended period without much maintenance. Start with a layer of tinder on the ground, then lay a series of parallel pieces of kindling on top. Add another layer of kindling perpendicular to the first, then continue adding layers in a criss-cross pattern. Place your fuelwood in the same manner, building up to a sturdy structure. Once lit, the fire will burn downwards slowly and consistently, providing steady warmth and light.
Star Fire Lay
The star fire or ‘Indian fire’ lay is designed for maximum fuel efficiency. Lay five or six logs with one end meeting in the center over your tinder bundle, mimicking a star pattern. As the fire burns, you push the logs further into the center. This method allows you to control the fire’s size and duration, using only as much wood as needed.
Choosing the right fire lay can make a significant difference in building a campfire. By understanding the benefits and applications of these various fire lays, you can select the best one for your specific outdoor needs. Whether you’re aiming for a high-heat cooking fire or a long-lasting warmth provider, there’s a fire lay suitable for your situation.
Fire starting techniques are abundant and diverse but its important to understand your options when building a campfire. The method you choose often depends on the tools and materials you have at hand. Some methods lean towards the primitive, harkening back to our ancestors’ time, while others employ more modern technologies. Here’s an in-depth look at some popular techniques:
Flint and Steel: Harnessing the Spark
A time-honored method of fire-starting, the flint and steel technique, involves striking a hard, sharp-edged piece of flint against a steel striker to produce sparks. These sparks, when directed onto a dry, finely shredded tinder, can create a flame.
To effectively use this method, hold the steel striker in one hand and the flint in the other. Strike the flint with the steel in a downward motion, aiming to shower sparks onto your tinder nest. When a spark catches, gently blow on the tinder to nurture the ember into a flame. The flint and steel method is an ancient and reliable technique, especially useful when matches or a lighter aren’t readily available.
Bow Drill: Creating Fire Through Friction
The bow drill method is one of mankind’s oldest fire-starting techniques and can be a rewarding, albeit challenging, method to master. The process generates heat through friction between two pieces of wood, typically a spindle and a fireboard. The spindle is spun rapidly against the fireboard using the bow, generating enough heat to produce an ember.
To use the bow drill method, you’ll need four main components: a bow, a drill (or spindle), a fireboard, and a bearing block. The bow, which can be any sturdy, slightly curved piece of wood, is strung with a cord. The spindle, a straight stick sharpened at both ends, is placed in a depression in the fireboard. The bearing block is held in the hand and used to apply pressure to the other end of the spindle.
When the spindle is spun rapidly using the bow, the friction generates heat. The accumulated heat and friction dust from the fireboard depression ignite to form an ember. This ember is then carefully transferred to a tinder nest and blown into flame. I would highly recommend watching a youtube video on how to do this before trying this method, it can be difficult!
Lighter or Matches: Convenience in the Modern Age
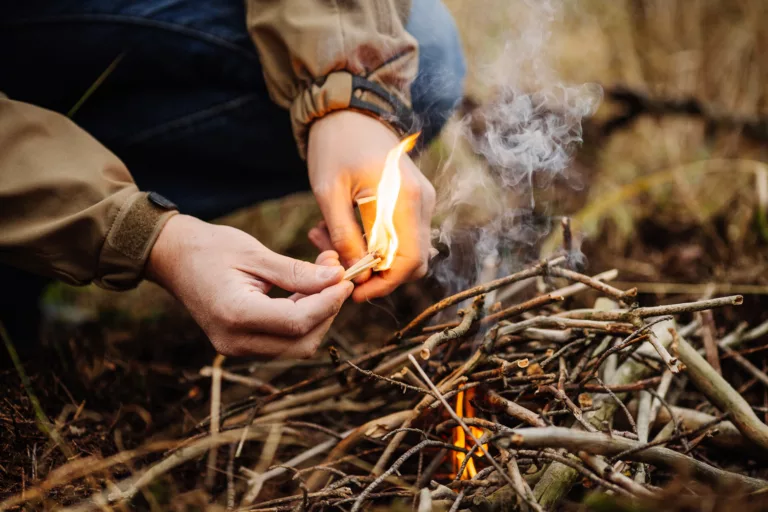
Perhaps the easiest and most convenient methods of starting a fire, particularly for beginners, are using matches or a lighter. If you have these tools on hand, the process becomes relatively straightforward.
To light a fire with matches, simply strike the match and hold it to your tinder until it catches. For safety and efficacy, opt for “strike anywhere” matches or stormproof matches, which will ignite under nearly any conditions.
A lighter, particularly the butane variety, can be an even more convenient fire-starting tool. They are reliable, reusable, and produce a flame instantly with a flick of the ignition. To use a lighter, engage the ignition near your tinder nest, and the flame should readily catch.
Ferrocerium Rod (Firesteel): A Reliable Alternative
Often referred to as a “ferro rod” or “firesteel,” this modern fire-starting tool consists of a rod made from ferrocerium, a synthetic pyrophoric alloy that produces sparks when scraped by a rough surface or a sharp edge, like a knife.
To use a ferro rod, you’ll need to place it close to your tinder nest and quickly scrape the rod with a striker. This generates a shower of hot sparks, igniting the tinder. This method is reliable even in adverse weather conditions and can ignite a wide range of tinders.
Mastering a variety of fire-starting techniques can enhance your versatility and confidence in the outdoors, ensuring that you can create a vital heat source under a wide range of conditions. By learning these methods and practicing regularly, you’ll always be ready to light a fire when you need it most.
When building a campfire, one quickly realizes that having the right fire starter can significantly simplify the process. There is an impressive array of solutions available, ranging from do-it-yourself creations to ready-made products available at your local outdoor gear shop. These various options not only cater to different circumstances and weather conditions but can also add a degree of ease and convenience to your fire-making process. In the upcoming discussion, we will delve into these fire starter alternatives, equipping you with the knowledge to choose the right solution for your outdoor adventures.
Wax in Egg Cartons: An Ingenious DIY Solution
A DIY fire starter that’s both economical and efficient involves using wax and egg cartons. The premise is simple: fill the compartments of a cardboard egg carton with a flammable material like dryer lint or sawdust, then pour melted wax (such as leftover candle wax) over it. Once the wax has solidified, you can cut out each section to serve as an individual fire starter.
These fire starters catch light easily and burn for a considerable time, allowing ample opportunity for your kindling to ignite. The wax acts as a waterproof barrier, making these starters practical for damp conditions, and their compact size makes them easy to pack and carry.
Birch Bark: A Natural Fire-Starting Gem
In the realm of natural fire starters, few materials compare to birch bark. The bark of most birch tree species contains oils that make it highly flammable. Even when wet, birch bark can still catch a spark or flame, which makes it an excellent natural fire starter, particularly in damp conditions.
When using birch bark, ensure you gather it responsibly. Never strip bark from a living tree, as this can damage the tree. Instead, look for fallen branches or loose bark on the ground.
Commercial Fire Starters: Reliable and Ready-to-Use
Available at many outdoor, camping stores, and even online, commercial fire starters offer a ready-to-use solution that can simplify the fire-starting process (REI carries a few). These products come in various forms, including cubes, sticks, and even fibrous ropes, each designed to catch flame easily and burn for an extended period.
Notably, many commercial fire starters are engineered to be weather-resistant, capable of igniting even in wind, rain, or snow. This makes them a reliable choice for various outdoor scenarios. Brands like UCO Sweetfire, Coghlan’s, and Light My Fire produce popular options well-regarded by many outdoor enthusiasts.
Fire Starter Squares or Pellets
Another option is fire starter squares or pellets, often made from compressed wood chips, wax, and other flammable materials. These are easy to light and can burn for 10 minutes or more, providing a stable flame to get your fire going. They’re typically water-resistant and unaffected by humidity, making them a great choice for different weather conditions. You can find these everywhere online, such as at Amazon or Walmart
Cotton Balls Soaked in Petroleum Jelly
A simple but highly effective DIY fire starter can be made using cotton balls and petroleum jelly. By soaking cotton balls in the jelly, you create a lightweight, easily ignitable fire starter that burns significantly longer than a plain cotton ball. This method is not only cost-effective but also highly space-efficient.
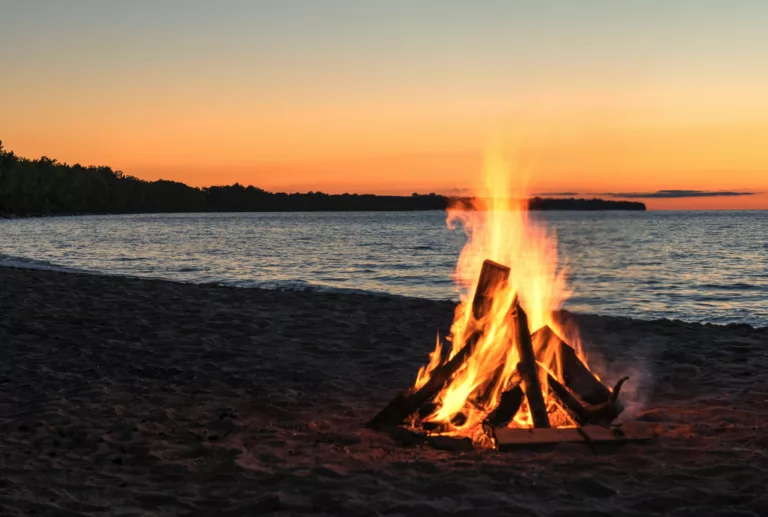
Embracing the Responsibility of Fire Building
While the knowledge and skill of building a campfire from scratch are empowering, it is equally, if not more important, to comprehend the responsibility that accompanies this vital outdoor skill. Lighting a fire is not just about survival or comfort; it also carries the weight of potential harm if not managed properly. Hence, it is incumbent upon each of us to ensure that we exercise caution, control, and conscious respect for the environment in all fire-starting endeavors.
Safety First: Never Leave Your Fire Unattended
One of the cardinal rules of fire management is never to leave your fire unattended. An unwatched fire can rapidly spiral out of control, especially in windy conditions or near flammable material. Always keep a close eye on your fire, ensuring it stays within the boundaries you’ve set for it and doesn’t pose a risk to surrounding vegetation or camp equipment.
Before you leave your fire site or retire for the night, make absolutely sure that your fire is completely extinguished. This is not merely about ensuring the flames are out. Coals or embers can remain hot for hours, capable of reigniting if given the chance.
To safely extinguish your fire, douse it thoroughly with water, ensuring all parts of the fire are soaked. Stir the ashes and embers with a stick, spreading them out to cool and checking for any that may still be smoldering. Apply more water if necessary.
The Principles of ‘Leave No Trace’
Inherent in every outdoor activity is the responsibility to preserve and protect the natural environment. This concept is encapsulated in the principles of ‘Leave No Trace‘, an ethical framework for enjoying the outdoors responsibly. When it comes to fire building, ‘Leave No Trace’ principles apply strongly.
Always source your fire materials responsibly. Use only fallen or dead wood for your fire, refraining from cutting branches off living trees or damaging vegetation. Make it a point to collect wood over a wide area rather than depleting a single spot. Moreover, aim to use established fire pits or fire rings where available, minimizing your impact on the site.
Ultimately, a key element of responsible fire building is demonstrating respect for nature. Endeavor to leave your campsite just as you found it, if not better. Ensure all traces of your fire are properly dealt with, and the site is clean and ready for the next visitor or for nature to reclaim.
In our journey through the art of building a campfire making today, we’ve explored the vital skills and knowledge needed to ignite and maintain a successful campfire. We’ve underscored the importance of gathering the right materials – tinder, kindling, and fuelwood – and discussed various options for fire starters, from natural sources to DIY and commercial products. We delved into the intricacies of arranging a fire lay, examining the advantages of the teepee, lean-to, and log cabin configurations.
We’ve also highlighted several fire-starting techniques, revealing the rustic appeal of flint and steel, the primal effectiveness of the bow drill, and the convenience of matches or lighters. We emphasized the critical element of safety in fire building, reminding outdoor enthusiasts of the responsibilities that come with wielding this tool of heat and light, including the importance of extinguishing fires fully and practicing ‘Leave No Trace’ principles.
From this comprehensive discussion, it’s clear that fire building isn’t merely a survival skill but a testament to human ingenuity, a connection to our ancestors, and an act of respect for nature. We hope this guide has illuminated your understanding and encouraged you to ’embrace your adventure’ with newfound confidence and responsibility. After all, building a campfire is more than a skill – it’s an integral part of our shared outdoor experience.
Master the art of building a campfire with our comprehensive guide. Explore materials, fire lays, ignition techniques, starter options, and safety tips.
Kick off your adventure planning with us by discovering what to pack for your next day hike!
Read how journeying through the Appalachian Trail during an employment gap can profoundly impact personal growth, ignite professional drive, and serve as a remarkable career enhancement.
An Introduction to Foggy Peak Adventure Planning – Streamlining the Adventure Planning Process and Cultivating a Thriving Hiking Community